Preparing Your Roses for Winter: A Step-by-Step Guide
As the growing season winds down and the chill of winter sets in, it’s essential to prepare your roses for the colder months. By following a few straightforward steps, you can ensure your plants are healthy, protected, and ready to flourish come spring. Let’s dive into how to winterize your roses effectively.
Step 1: Assess and Tidy Up Your Roses
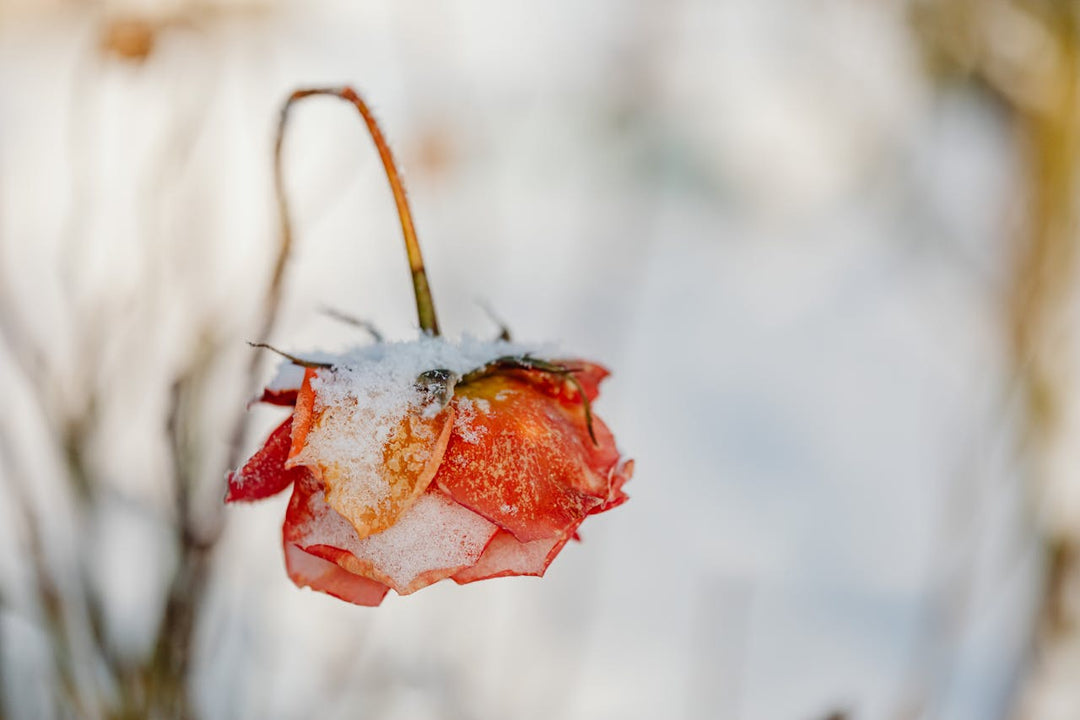
Start by examining your roses for any signs of disarray. It's normal to see yellowing leaves or spent blooms during this time of year. While it might feel sad to cut back lingering flowers, it's important to recognize they won’t mature further as the cold intensifies.
Step 2: Cut Back the Canes
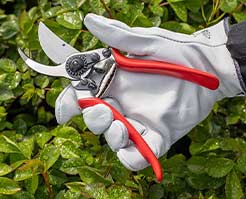
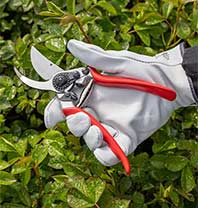
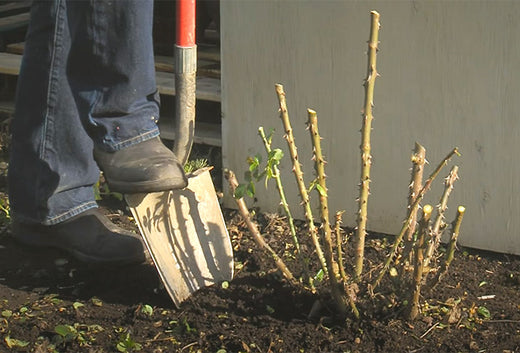
Using a hedge trimmer or long-handled pruners, cut back your rose bushes to a height of about two feet. This manageable size helps the plant remain stable during winter and makes spring pruning easier. For larger canes that your hedge trimmer can’t handle, use manual pruners for a clean cut. For more mature rose bushes, Heirloom Roses' recommends the Bahco Superlight Orchard Lopper for ease of use and efficiency.
For smaller rose bushes or more precise pruning, Felco 11's or Bahco ERGO is recommended.
Once trimmed, clear away the cut material around the base to keep your garden tidy and reduce potential disease risks.
Step 3: Remove Dead or Yellow Leaves (Optional)
Roses naturally enter dormancy in winter, causing leaves to die back and fall off. While it isn’t necessary to pick off all the leaves, removing yellowed or dead ones can improve the plant’s appearance. However, this step is purely aesthetic and won't impact the plant’s health.
Note: If your rose leaves show signs of black spot rather than seasonal changes, be sure to remove all infected leaves from both the plant and the surrounding ground to prevent the disease from spreading. This simple step will increase your likelihood for a healthier rose next Spring.
Step 4: Mulch for Cold Protection
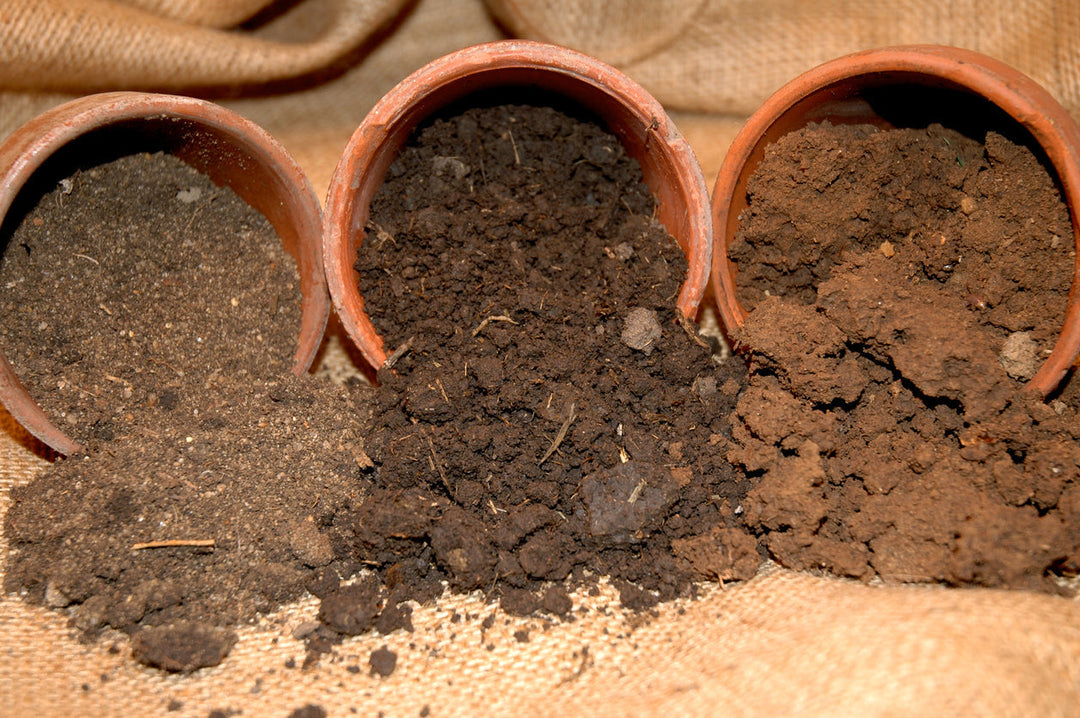
If you live in a region with harsh winters, applying a layer of mulch around the base of your roses is an excellent way to provide valuable insulation. For own-root roses, you can apply mulch generously without concern—it not only protects the roots but also shields the plant from freezing temperatures. When spring arrives, simply pull the mulch back to allow for fresh growth to emerge.
Our top recommendation for winter mulching is Heirloom Roses' Mint Compost. This all-natural product creates a protective layer of insulation while offering additional benefits for your roses. As the compost breaks down, it nourishes the soil and helps repel common pests like aphids, spider mites, and other damaging insects, setting your rose bushes up for a strong start in spring.
Step 5: Apply Dormant Spray
Before winter fully sets in, treat your roses with a good dormant spray. This fungicide helps eliminate any lingering fungal spores or bacteria on the plant, creating a clean slate for the next growing season. Options like liquid copper fungicide or organic sprays such as Dr. Earth are excellent choices. Be sure to follow the product instructions carefully to ensure safe and effective application.
Looking Ahead to Spring
While these winter preparation steps are crucial, remember that a full and detailed pruning is best reserved for late winter or early spring. This ensures your roses are primed for robust growth when the weather warms.
By taking these simple measures, you’ll help your roses survive the winter and thrive in the spring. For more tips on rose care, visit our "How To" articles for helpful hints from our experts. A beautiful, healthy garden is within reach!


